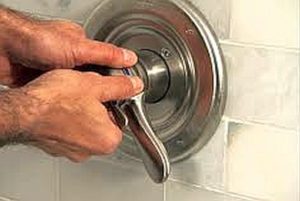
Shower Mixing Valves
Although repairs to these are relatively routine, replacement can be a real challenge. Plumbers can upgrade your shower valves, in many cases, without involving additional subcontractors.
Below are two recent installations; both are bath and shower fixtures associated with existing, fiberglass contractor tubs.
Example 1
For this valve, a carpenter created an access panel inside an adjoining closet; the original valve was then replaced. The access panel has a removable cover exposes the valve to facilitate future service and inspection.
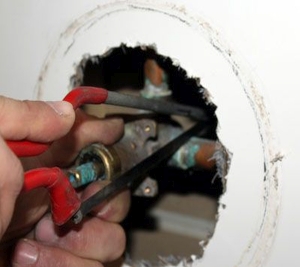
Access is the greatest challenge when replacing a shower valve. In most cases, no thought is given to how the valve will be serviced.
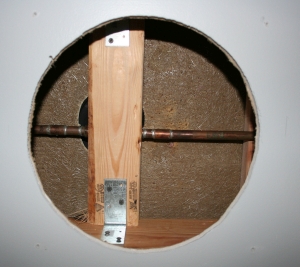
For this upgrade, carpenters create an excess hole in an adjoining closet space. The original valve is then accessed and replaced from within the closet.
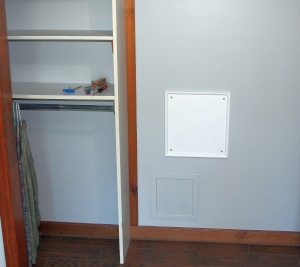
A cover panel was created, painted, and screwed over the access hole. If the valve needs future service, it can be accessed by removing this cover.
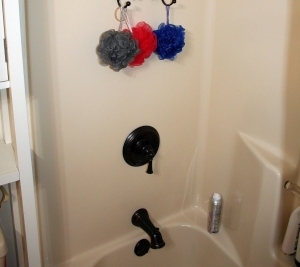
The outdated chrome fixtures are now replaced with oil-rubbed bronze types; these match newer fixtures installed throughout the rest of the home.
Example 2
This customer complained of a leaking mixing valve; a steady-stream of water was leaking from around the handle and draining into the tub. Fortunately, the builder installed an access panel inside an adjoining closet. Removing this panel permitted full access from the shower head down to the waste shoe (the drain).
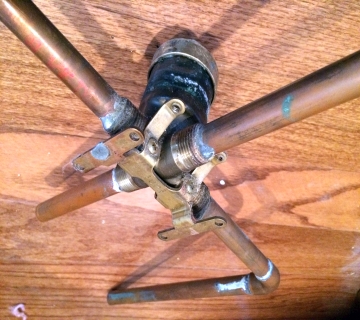
The original valve was soldered; the original plumber did not properly clean the joints. As a result, there was significant corrosion to both valve, fitting, and connecting tubing.
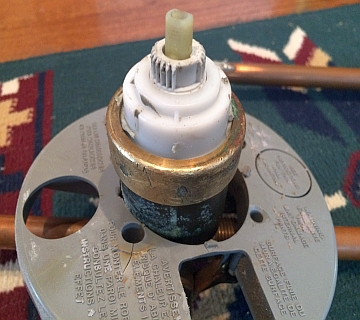
The valve body was deteriorated and water was leaking past the bonnet (the brass ring on the end). Fortunately, this part protrudes into the tub, so the leak was not inside the walls.
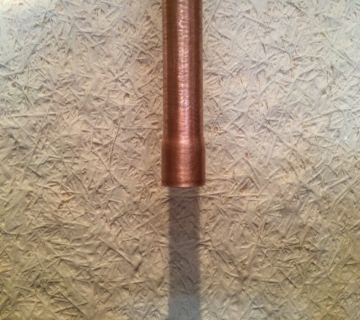
The leaking valve was removed. The remaining tubing was then cleaned and their ends swaged. Where possible, plumbers should swage tubing ends in order to reduce the number of soldered joints.
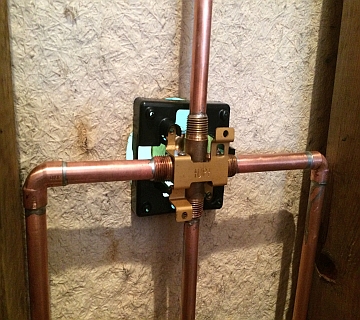
Here is the newly installed valve. Note the cleaned and polished copper tubing. For all rigid copper repairs we use only ASTM B 88 Type L, hard temper copper; the more expensive, thicker wall tubing.
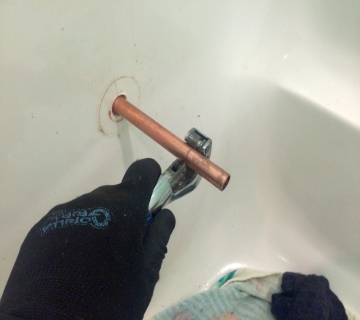
Here the stub out for the tub spout is cut to the appropriate length. For this installation, a manufacturer-supplied brass adapter is used to couple the tub spout to the copper tubing
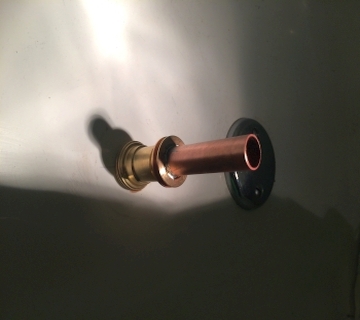
Here is the stub out for the tub spout after soldering the adapter. Propane equipment was used to solder the brass to copper joint.
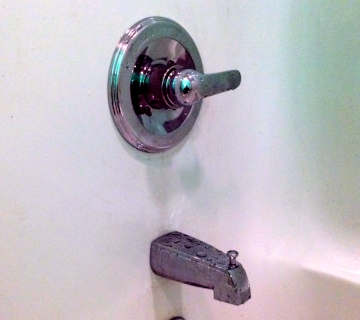
Here is the finished fixture installation after leak testing. Leak tests are required for all new installations in accordance with manufacturers instructions and the requirements of Section 312.5 of the International Plumbing Code (IPC).
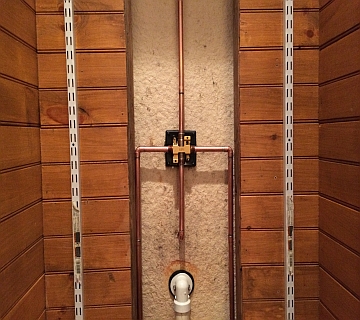
Here is the finished valve plumbing prior to closing the access cover. When done correctly, plumbers and carpenters take great pride in providing the highest possible quality of materials and craftsmanship.
Regardless of who performs the work, where brazing or soldering is performed, the plumber should be qualified in accordance with an employer brazing and soldering program, which is developed in accordance with the Copper Development Association (CDA) and ASME Boiler and Pressure Vessel Code (BPVC), Section IX Part QB. All reputable companies should require their plumbers maintain current qualifications.
